
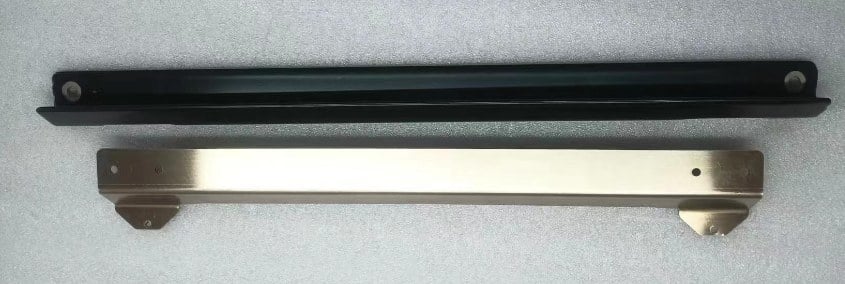
The two parts of the wall mount. The black part is attached to the subwoofer, and the silver part is attached to the wall.
What you need
As the subwoofer is relatively heavy, it might be a good idea to be two persons during installation, especially if the subwoofer is to be mounted high on the wall.
Mounting holes on the subwoofer
On the back of the subwoofer there are four mounting holes:- The two upper holes are used to bolt the subwoofer part of the wall mount to the subwoofer.
- The two lower holes are used to install two of the included silicone feet.

Installation
1
Attach the subwoofer part
Bolt the subwoofer part of the wall mount to the two upper holes on the back of the subwoofer, using the included bolts. Don’t tighten too hard.
2
Install the silicone feet
Attach two of the included silicone feet in the two lower holes on the back of the subwoofer.
3
Mount the wall part
Mark the four holes on the wall, using a spirit level to make sure they are on one horizontal line. Drill and attach the wall part with four 6 mm screws suited to your wall. Make sure the wall part is the same way up as when it was connected to the subwoofer part in the box.
4
Hang the subwoofer
Lift the subwoofer and gently lower it onto the wall mount. The subwoofer slides into place, with no tools required.Now the only way to disconnect it from the wall is to lift it upwards. This means it is essentially locked in place and secure from any mishaps.
